Video Converter Ultimate for Mac is a professional yet easy-to-use ultimate converter software which not only can rip homemade DVD to all popular videos and audios but also convert between any video formats including MPG, MPEG, MP4, H.264, SWF, FLV, VOB, MOD, M4V, AVI, WMV, 3GP, 3GPP, MOV, DivX, XviD, QuickTime Video, along with HD videos and extract audio from these videos on Mac. It also converts between all audio formats including MP3, MP2, AAC, AC3, WAV, WMA, M4A, OGG, FLAC... with super fast conversion speed and excellent quality.
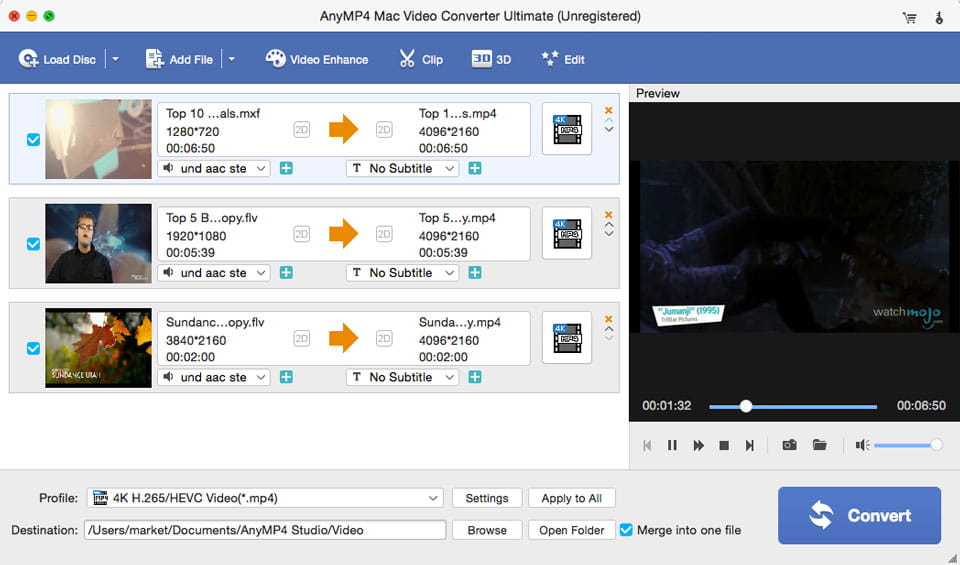
The first thing you need to do is to download the program here. After you install it on your computer successfully, please double click it to run it, and then you'll see the main interface of the program.
Click "Add video(s)" button to open the "Select Video File" window. Here you're free to choose the video files you want to convert by the "Ctrl" or "Shit" button to add multiple video files at one time. Or select "Add Video" or "Add Folder" button to add files as you like.
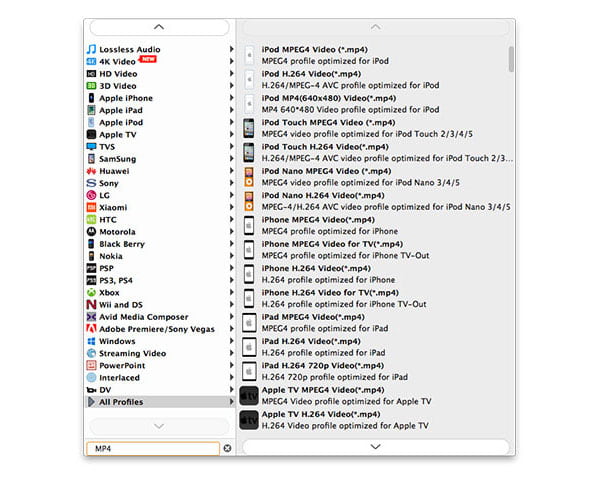
This amazing WMV Converter supports to input almost all video formats and output WMV, WebM, AVI, FLV, MOV, etc, so you could choose the format according to your own will. Click the drop-down arrow right beside the "Profile" column and select your desired video format from the drop-down list. Or input the format you want in the quick search box to locate the corresponding formats very quickly, and then select the format you need.
With versatile Video Converter Ultimate, you're capable of editing the videos with multiple functions like Effect, Trim, Crop and Watermark. It's easy to adjust the video effect like Brightness, Saturation, Contrast, Hue and Volume, trim the video length, crop the video frame and add text/image watermark to the video according to your preferences.
Click the "Clip" button in the main interface, and then you are able to start the clipping process.
Create new clips. Set the starting time, ending time and break point, the new clip option will keep both the part from starting time and ending time, and the part from the break point to the end of the video.
Split video into two parts. Set the starting time, ending time and break point, the split feature will save both the part from starting time to the break point and the part from the break point to the end of the video.
Extract the part you want only. Set the starting time and ending time, and click OK to save the part from starting time to the ending time.
After that, you just need to return to the main interface of this software, move arrow-down/up pointer to arrange the video or audio file in order, and select the items to merge them easily. No files limit, and you could add as more as files for combining.
At last, you can click "Convert" button to start to convert videos to your needed video format. It supports batch conversion, which means you can get multiple different video formats at one conversion. Additionally, you're able to click "Pause" or "Stop" button to control the converting process.


