Sometimes you may want to enjoy your photos on PC with your family and friends. How to transfer iPod photo to PC? Where can you find a best iPod photo transfer to PC ? With this iPod Manager, you will find that transferring iPod photo to PC is so easy. Now this document will offer you step-by-step guide on how to transfer iPod photo to PC. From this step-by-step guide, you will get an easy-to-use way to freely enjoy your favorite photos on your computer.
What you need?
Software: iPod Manager
OS Supported: Windows 8, Windows 7, Windows XP (SP2 or later), Windows Vista
Hardware Requirements: 800MHz Intel or AMD CPU, or above; 512MB RAM or more
Step 1 Connect your iPod to PC
Connect your iPod to PC and choose the photo file then all the photos in your iPod will display automatically on the interface.
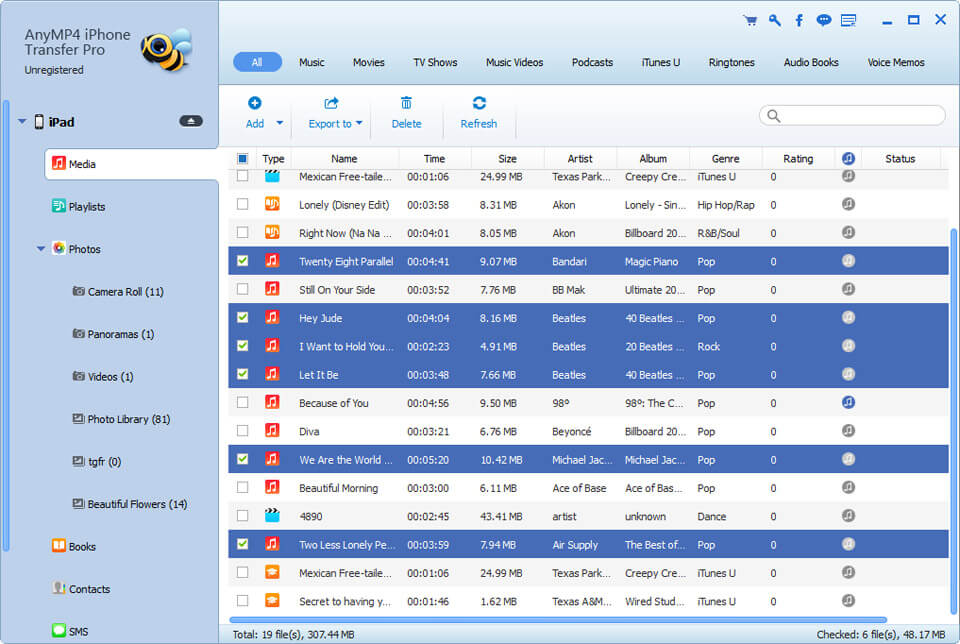
Step 2 Select the photos to be transferred to your computer
You can select photos by click on each one, or just drag a rectangle to select a bundle of photos. The selected photos will be marked in another color you will see in the follow screenshot. You can also select all photos by click right button of your mouse.
Step 2 Click "iPod to PC" button to select output path
Click the "iPod to PC" button to select output path and start to copy photos from iPod to your computer.
That's it! The photos should be on your computer. Enjoy them.


