
Desktop Recorder – 5 Best Screen Recorder to Capture Screen Videos on PC and Mac

Desktop Recorder – 5 Best Screen Recorder to Capture Screen Videos on PC and Mac
 Desktop Recorder
Part 1: 5 Best Desktop Recorders to Capture Screen Videos with Audio
Here are top 5 best desktop recorders for PC and Mac, which enables you to record screen video, microphone voice, system audio and more other files within your computer.
Top 1: 4Videosoft Screen Capture
4Videosoft Screen Capture is the desktop recorder to capture all onscreen activities, such as screen videos, microphone voice, system sound and snapshot. It also enables you to tweak the audio and video settings, add watermark/mouse cursor/callouts/annotation, and even edit the video recording files with ease.
- Record all onscreen activities on your desktop, including video and audio.
- Tweak the frame rate, sample rate, bitrate, audio channel and more others.
- Add annotation, watermarks, callouts, lines, arrows, and elements easily.
- Edit, manage and preview desktop recordings with the built-in media player.
How to Record Desktop Screen on PC/Mac
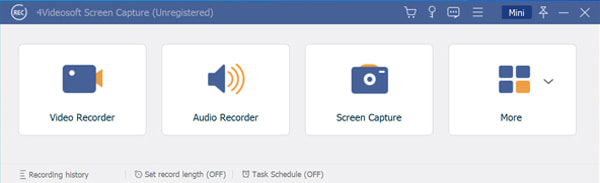
Step 1Download and install the desktop recorder, you can launch the program on your computer. Then choose the Video Recorder menu to capture onscreen activities, microphone voice, system sound and even screenshots on your desktop.
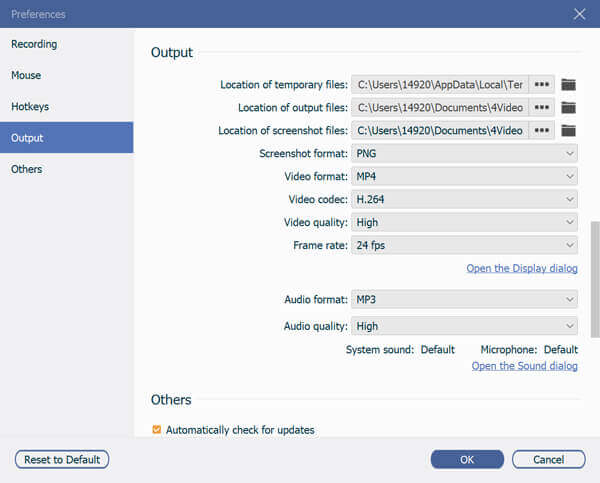
Step 2Click the Settings menu with a Gear icon to open the Preferences dialog. Here you can set the options related to output, hotkeys, recording and more. To capture your mouse path, you can check the Show mouse cursor option and click the OK option to apply.
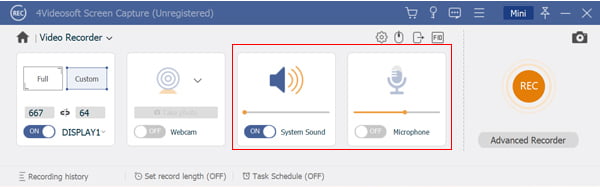
Step 3Go back to the home interface of the desktop recorder, you can turn on the Display menu and set the recording area accordingly. If you want to add your reactions to the desktop recording, you can turn on the Webcam option and the System Sound option.
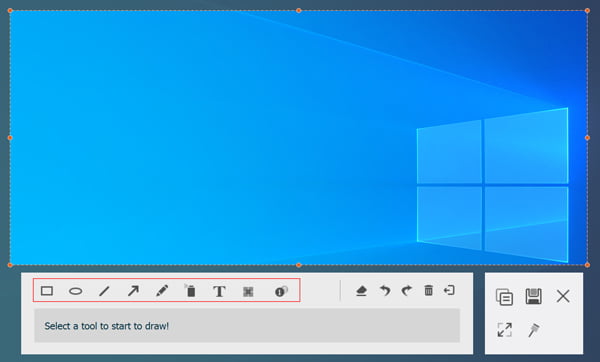
Step 4Click the REC button to start recording your desktop activities. During the process, click the Edit icon and add watermark, annotation, callouts and more other elements. Moreover, you can also use the Camera icon to take a snapshot of the desktop screen.
Step 5When desktop recording is done, click the Stop button to open the preview window. After that, you can view the recording in the media player and remove unwanted frames with the Clip option. After that, you can click on the Save button to export the recording to your computer.
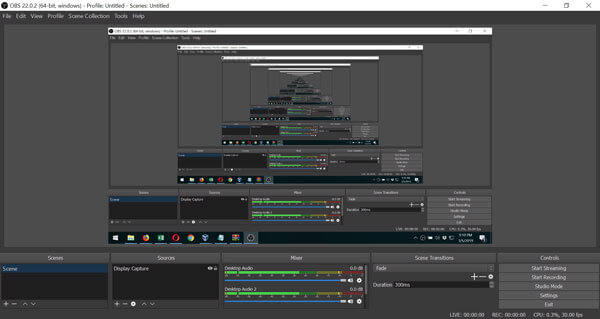
Top 2: OBS Studio
OBS Studio is an open-source desktop recorder for game recording and live streaming on Windows, Mac and Linux. It enables you to work with multiple sources and mix between them to create a seamless broadcast.
- Free of charge with no watermark or length limit.
- Support multiple recording sources.
- Add your face and voice to desktop recording.
- Produce high quality recording videos.
- It can only save desktop recordings in FLV and MP4.
- The free desktop recorder may crash for unknown reasons.
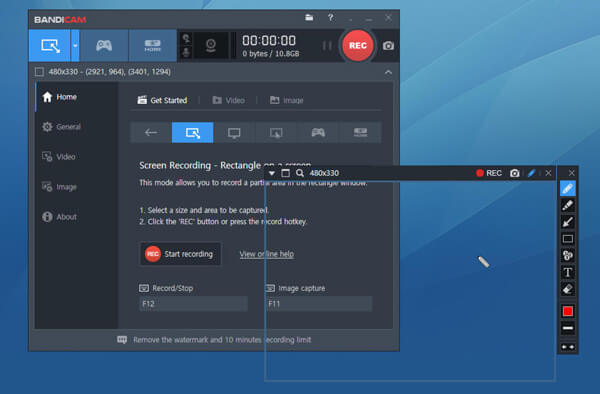
Top 3: Bandicam
Bandicam is a desktop recorder for PCs. It was just developed for gameplay primarily. The built-in game mode can optimize your computer's performance, so you can record gameplay in high FPS without lag.
- Record gameplay, video and more on your desktop.
- Capture desktop activities up to 60 FPS smoothly.
- Set custom options, frame rate, bitrate and more.
- Offer a free trial of desktop recorder to capture the files.
- The free version will add watermarks to recordings.
- It is only available to PC.
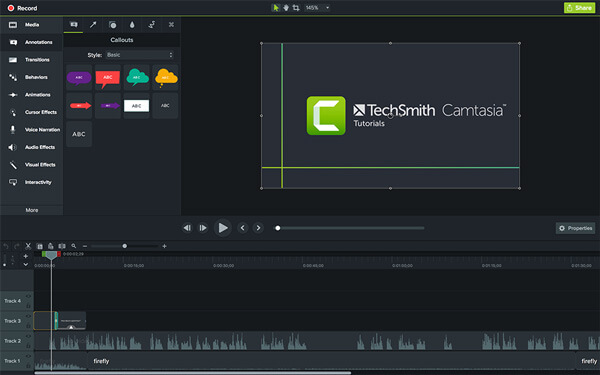
Top 4: Camtasia
Camtasia is a versatile desktop recorder as well as a video editor, so you can polish the videos after recording within the same program. Of course, you can use it to record any activities on your desktop.
- Record desktop on both PC and Mac.
- Offer a full version of video editor.
- Support various output formats.
- Save desktop recordings to cloud server.
- The sound effects are limited.
- It only supports Google Drive.
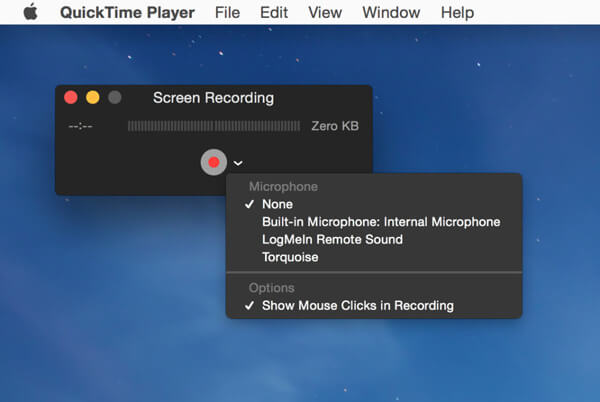
Top 5: QuickTime Player
Different from the other desktop recorders, the setup process is not frustrated in QuickTime. As a preinstalled media player, QuickTime includes a free built-in desktop recorder that does not ask installation.
- Record desktop activities on Mac.
- Capture iPhone screen via a USB cable.
- Preview desktop recordings.
- Add plugins to capture desired audio channel.
- The desktop recorder lacks a video editor.
- It only supports the MOV output format.
Part 2: FAQs about the Desktop Recorder You Should Know
-
1. How to Record the Desktop Videos on Windows 11/10?
Windows 11/10 has a default desktop recorder, Game Bar, which is the screen recorder for Xbox One initial. You can press Ctrl + G on your keyboard to activate the simple screen recorder to capture the desktop activities and the gameplay videos.
-
2. What are the Best Desktop Recorder Alternatives Online?
Besides the above desktop recorders, you can also use the online screen recorders to capture onscreen activities, such as the 4Videosoft Free Online Screen Recorder, ShareX, Screencast-O-Matic and more others to get the desired files.
-
3. How Can I Record TV Screen with Desktop Recorder?
Is there a method to record a TV screen, a smartphone or other device? Of course, you can also use the desktop recorder to capture the videos by connecting the devices to your computer with a USB cable or an HDMI cable beforehand.
Based on the sharing and review above, you should master 5 best desktop recorders for PC and Mac. Just check out the unique benefits and advantages. OBS Studio, for example, is totally free to use without any limit. QuickTime is able to record everything on your desktop with no installation or payment. 4Videosoft Screen Capture, on the other hand, is the best choice to capture the all desktop activities with a satisfied video quality.
 Free Download MPG to MP4 Converter– 4 Steps to Convert MPG to MP4
 Microsoft Screen Recorder – 3 Best Methods to Capture Screen Videos as Desired
 Top 8 Chrome Screen Recorder Extensions to Record Screen on Chrome


