iMovie is the default video editing software installed on Mac computers. With iMovie, you can easily create movies from clips from your digital video cameras, camcorders and photos, etc. If you have WMV files from your PC computer or friends and want to edit them with iMovie, you may not be able to import WMV to iMovie on Mac as iMovie does not support WMV format developed by Microsoft.
In such condition, what can you do? In fact, you'd better convert WMV to iMovie compatible video format and import the converted WMV files to iMovie for further editing. In this article, we will introduce you how to convert and import WMV videos to iMovie on Mac step by step.
In order to import WMV to iMovie, you need to know the file formats supported by iMovie first. iMovie supports a wide range of video formats including DV, HDV, AVCHD, Apple Intermediate Codec, Apple Animation Codec, Motion JPEG/A, iFrame, H.264 and most varieties of MP4 and MOV. So you can convert WMV to these iMovie friendly formats in order to put your video files into iMovie.
After understand iMovie compatible formats, you also need a professional WMV to iMovie converter for converting WMV files to iMovie supporting formats. Here you can choose the Video Converter Ultimate which is a great WMV to iMovie converter to help you convert video files in just few clicks.
WMV to iMovie Converter
Step 1 Import WMV files
Download and install the WMV to iMovie converter and then open it on your Mac. Click "Add File" button to select the WMV files you want to convert to iMovie formats. Or you can directly drag and drop WMV videos to the program.
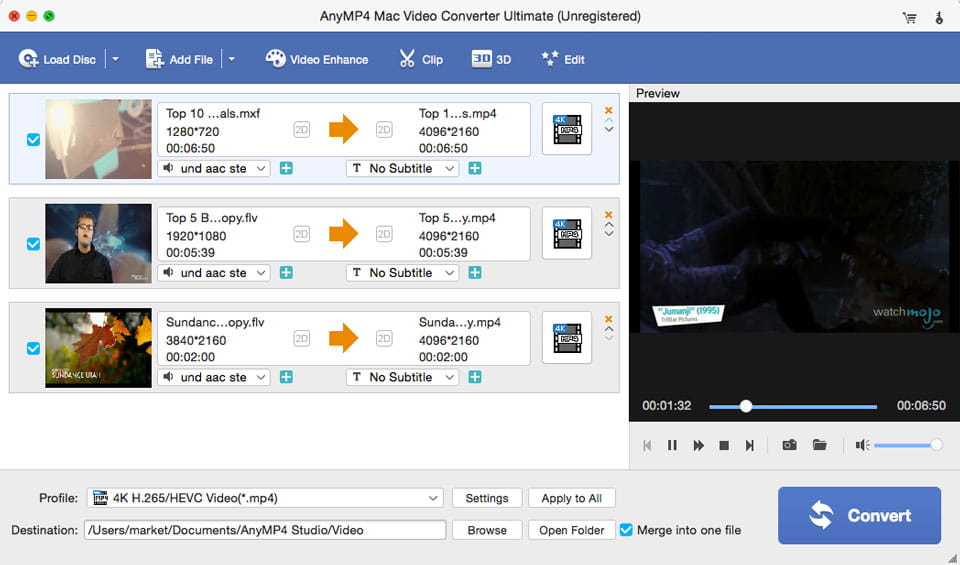
Step 2 Choose iMovie supported video format
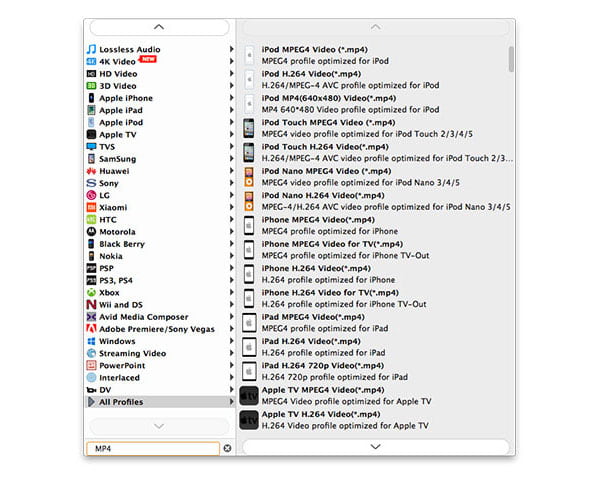
After importing WMV files, click "Profile" to open the drop-down list, .mov, .mp4 or .m4v video format on "General Video" category. You can also choose the format on Apple iPhone, Apple iPad, Apple iPod, Apple TV category where the formats would be the same as iMovie.
Then you can click "Settings" button to do video and audio settings. You can adjust the encoder, frame rate, resolution, aspect ratio, etc. or you can just leave them as default settings.

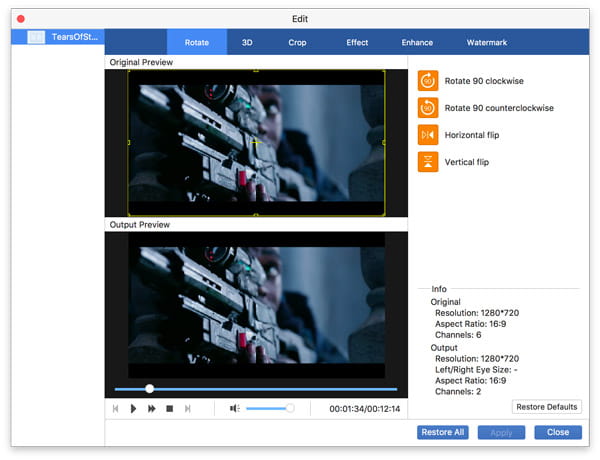
Additional, click "Edit" button on the top menu of the interface, you can rotate, crop, enhance, add effect, add watermark, etc. to your WMV videos.
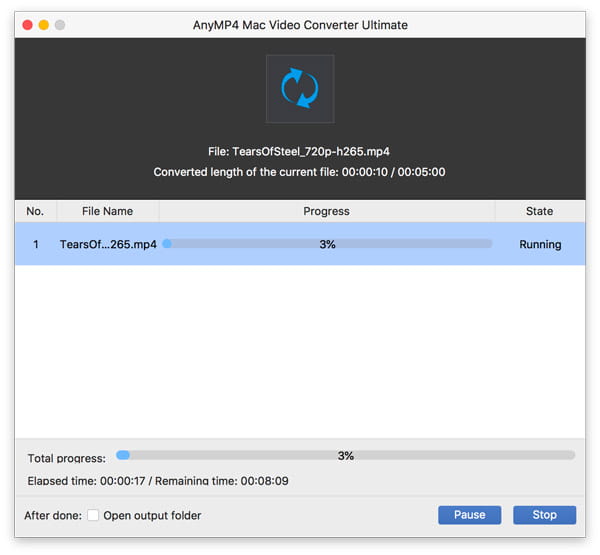
Step 3 Start converting WMV to iMovie files.
After all settling down, click "Convert" button to begin WMV to iMovie format conversion on your Mac computer. Generally, the conversion speed is high and you can get your converted WMV files soon. However, the specific time would be still depending on the quantity and size of the videos you are converting.
Step 4 Import converted WMV to iMovie
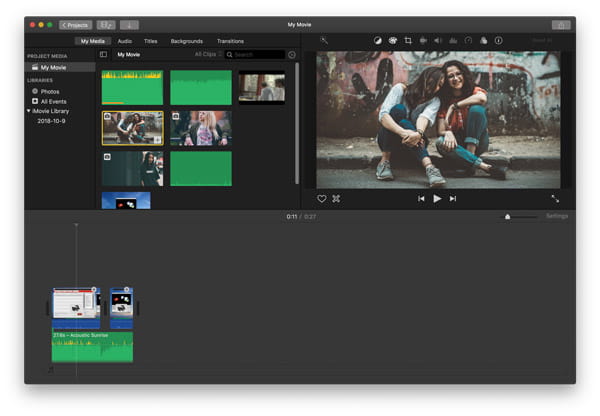
After conversion, launch iMovie on your Mac, choose File > Import > Movies... and open the folder containing the converted WMV files. Choose the files you want to import and click "Import". Now you can start creating your own movies with the converted WMV files with iMovie.
In this tutorial, we mainly introduce you the best way to convert and import WMV files to iMovie with the professional video converter. If you like this article, just share with your family and friends.


