iRiver is a popular international digital device among us. Even though, such a popular consumer electronic product could still have problems. Nothing is perfect. People sometimes post a question on a forum, or Google something just looking for answers about how to convert a certain video and transfer it to iRiver. Apparently, iRiver doesn't support every video/audio format file. Now, the problem becomes quite simple with iRiver Video Converter. The following is the step by step guide on how to convert video to iRiver support format WMV.
What you need?
Software: 3D Converter
OS Supported: Windows 8, Windows 7, Windows XP (SP2 or later), Windows Vista
Hardware Requirements: 800MHz Intel or AMD CPU, or above; 512MB RAM or more
Step 1 Add video files to convert
Double click this Palm Video converter, then you will see the following screen.
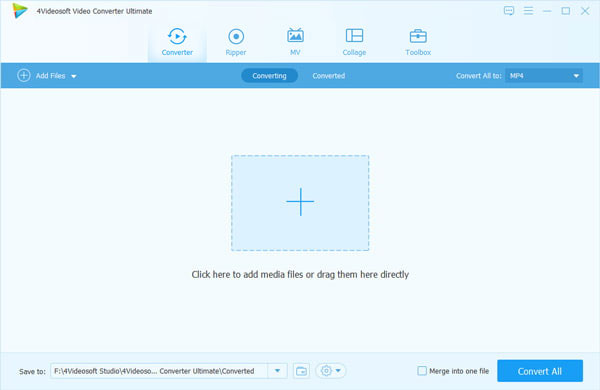
(1) Add: Add the video file
Click "add file" to add you want to convert video files.
The supporting input format including: MPG, MPEG-1, MPEG-2, MPEG-4, MJPEG, VOB, DAT, MP4, DivX, XviD, M4V, TS, MTS, M2TS, RM, RMVB, WMV, ASF, MKV, AVI, 3GP, 3G2, F4V, FLV, SWF, MPV, MOD, TOD, QT, MOV, DV, DIF, MJPG, TP, TRP, WebM, MP3, MP2, AAC, AC3, WAV, WMA, M4A, RA, RAM, OGG, AU, AIF, AIFF, APE, FLAC, CUE.
After you add the file, you would see the following picture.
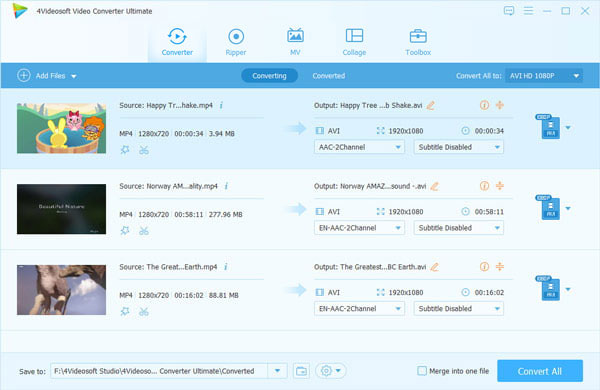
(2) Profile: Choose the output format from the "Profile" Column, find what your player supporting format or the devices.

The output format is also powerful, you can see from the following: MPEG-4, 3GP, MP4, WMV, WebM, MP3, WAV.
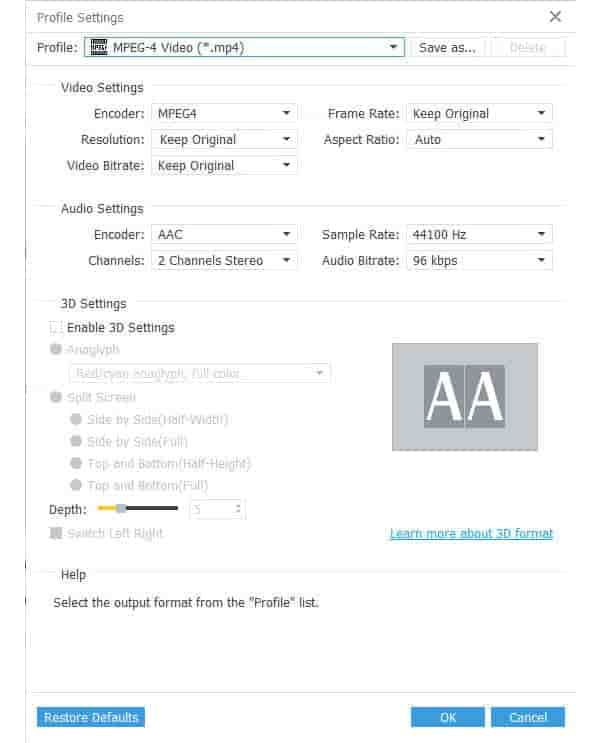
(3) Settings: Click "Settings" to open the settings window.
(4) Merge: You also can put you file into one, just click " Merge into one file", that's OK.
(5) Destination: Click the "Browse", you can put the converted file into what you want disk, and in the "Open Folder", you can find the file.
Step 2 Start conversion
Click the "Convert" to convert.


